 Member Add Stair
Adds a Stair member.
See on another page: Stair Edit window
- Step-By-Step
- Tips and Tricks
- Related Tools
1 . Click the Member Add Stair icon, which is pictured above. The icon can be found on the Members page > Stair/Handrail section.
Alternative: Invoke Member Add Stair using the Find Tool by searching the command name and clicking the icon, which is pictured above.
Learn more about alternative methods for launching commands.
2 . The status line prompts, "Add: Stair". Various Locators become active along with Locate - Repeat - Return mouse bindings. Select the appropriate Locate option, then left-click (Locate) the first point where the point location target ![]() )
)
Alternative: Right-click (Return) or press the Esc button to end the operation.
3 .The status line prompts, "Locate second point." Left-click (Locate) the second point where the point location target ![]() )
)
Alternative: Right-click (Return) or press the Esc button to end the operation.
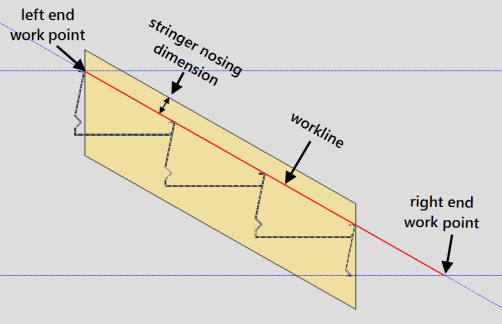
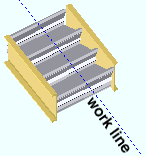
Note: The workline of the stair member is fixed to the tread nosing. The stringer material is offset parallel to the workline based on the value 'Stringer Nosing Dimension' in the stair edit window.

4 . The Stair Edit window opens. After you are done changing or reviewing settings, left-click on the 'OK' button to finish adding the stair member.
5 .The status line prompts, "Add: stair", allowing you to continue adding stair members by repeating steps 2-4.
Alternative: Right-click (Return) or press the Esc button to end the operation.

- Stair Edit window (opened with Add Stair )
- Stair Treads ( Home > Project Settings > Fabricator > )
- Cut Stair and Handrail Detailing Time in Half (YouTube) (
 )
)
- Stair Quick Add Tool (alternative way to add a stair)
- Add Handrail to Stringer (Add rail to stair stringer)
- Edit Member (also opens the Stair Edit window)


